Wednesday, March 26, 2014

New Lotion Tins


I quit doing lotions a while back since I didn't want to order in a huge quantity of containers (think cases) and then have to move them up to Illinois at some point in the future.  So, I started just offering plain old shea butter in whatever plastic containers I could find at the store.  Not very professional, but, it worked.  

Then I starter to miss MY concoction of wonderful oils, butters and great essential oils.  I LOVE shea butter on its own.  It is so good for you--it moisturizes, it heals and it makes your skin look so healthy.  But, on my skin, it can feel a little tacky...especially if you use too much.  And since I don't use much lotion--I use great soap instead--I was battling that sweet spot of shea butter usage where you put it on and it totally soaks into your skin in a few moments.  But use too much and it feels pretty heavy.     


As luck would have it, one of my fragrance suppliers started offering small quantities of great tin containers for reasonable prices.  So get out the oils:   almond or apricot kernel.  Melt down some beeswax, shea butter and cocoa butter.  And mix it altogether with some great smelling, wonderful healing essential oils and you have Jackie's 100% Natural Lotion Tins.  

They are small, 1.5 ounces.  But for $5, you get a lotion that will last for months!  Yes, you read that right.  You scrape your thumb nail lightly over the top and rub that into your arm.  Do the same for the other arm, your legs and then use what is left over to moisturize your lips, your cuticles--wherever you need an extra little bit of moisture.  I have a good friend who uses it on her face, but, it is a little too heavy for my skin type.  Oh, and then wash out the container and recycle it to hold something near and dear--a ring box, a container in your purse for your earrings.  

Tuesday, March 25, 2014

Myrtle the Mercury and the Honda


Myrtle has reached 300,00 miles!  She is a dependable old gal and I hope she keeps cranking out those miles.  She has a few more rattles than before, her paint is a bit faded--but more importantly she carries me safely up and down the highway from show to show, and state to state.

For those who don't know, we bought Myrtle used about 15 years ago when I started doing craft shows. My new friend Lynn the SpiceLady pulled Rod aside after a weekend show in Orlando and told him point blank he needed to buy a van for me.  She said doing craft shows in two cars--a Honda Civic and a Mazda Miata was not going to work.

Anyway, Myrtle is a Mercury Villager of the 1994 vintage.  She had 65, 000 miles on her and the test drive revealed spotty air conditioning and a possible transmission problem.  But when the blue book price was $11,000 and we got her for about $6,500--there was room to fix the problems.  We put a new transmission in the first couple of months and the air conditioning lasted a year or so before it needed to be rehabbed. But, we still felt--make that we still feel like we got a great car for a fantastic price.


And then there is the old Honda.  That was a 1989 Civic. Yes, a twenty five year old vehicle.  We bought the original blue bomb in 1987, but, Rod wrecked it and never wanted his Dad to know.  Since the body style hadn't changed, we bought the same exact car in 1989--and no one ever knew the difference.  We had to send the Honda to the big scrappers yard in the sky after it finally bit the dust.   It needed brakes--no big deal--but when the mechanic discovered a blown head gasket, it was time to call it quits.  So, what was the final mileage on the Civic?


It was just a great car, but, it was ugly.  Or at least it started getting ugly at about year 15.  And, I can't say that I miss it sitting in the driveway--or paying the monthly insurance.  Rod loved that car though.  He drove it most days back and forth to Disney.  It did leave him stranded a couple times--but never anything too serious.  Except maybe the time we were coming home from Illinois and in Cartersville, Georgia, the clutch cable broke.  On a Sunday.  Leaving us stranded on I-75.  Luckily at the end of the entrance ramp we had just cruised down after fueling up.  Trouble was that we had a dog.  And very little money.  The tow truck driver took us by 2 hotels that were full until we got the last room at a "economy" motel on the north-most exit for Cartersville.

We lied about the dog to get the last room available.  Then we spent the first night trying to get our dog not to bark.  Patch had other ideas though...barking at every door slam, toilet flush and voice in the hallway.  By morning we had not slept a wink.  We were so worried about the dog and getting kicked out, Rod walked down to the gas station across the highway and made a call to the hotel asking if they took pets.  THEY DID!  So that was one worry off our mind.


The next big deal was if we would have enough money to pay for the hotel and the car repair.  In our defense, it was the end of vacation.  And we had plenty of room on THE ONE credit card to our name, but, we were newly married in our first house.  Money was very tight.  I got  it in my mind that the repair shop was going to rip us off.  So, we called all around to check on everything we were told.  It all worked out--it turned out to be just the cable, not anything more serious and the price they were going to charge us was fair. The only problem was that they new part didn't arrive on Monday and we had to stay until Tuesday.  Both of our jobs were no problem...they understood, luckily.

Another time, we were headed up to Rockford for Christmas and at the service plaza on the turnpike the Honda developed a leak in the radiator.  That was just 25 miles outside of Orlando.  I was crushed--I must have been really homesick that year.  But Rod called around and got the car in that day to a mechanic who had us on the road the next day.   Vacation that year was a little shorter, but, we made it, presents and all to Rockford.  

 
Goodbye, little Honda.  May you be reincarnated into a really sweet Lexus in your next life!!

P.S.  Rod has already said he is thinking about getting another minivan.  And, no.  He is not going to sell the Miata to do that--it will be car #3...again.  That nice, empty looking driveway didn't last long.

My Sourdough Starter--March 2014

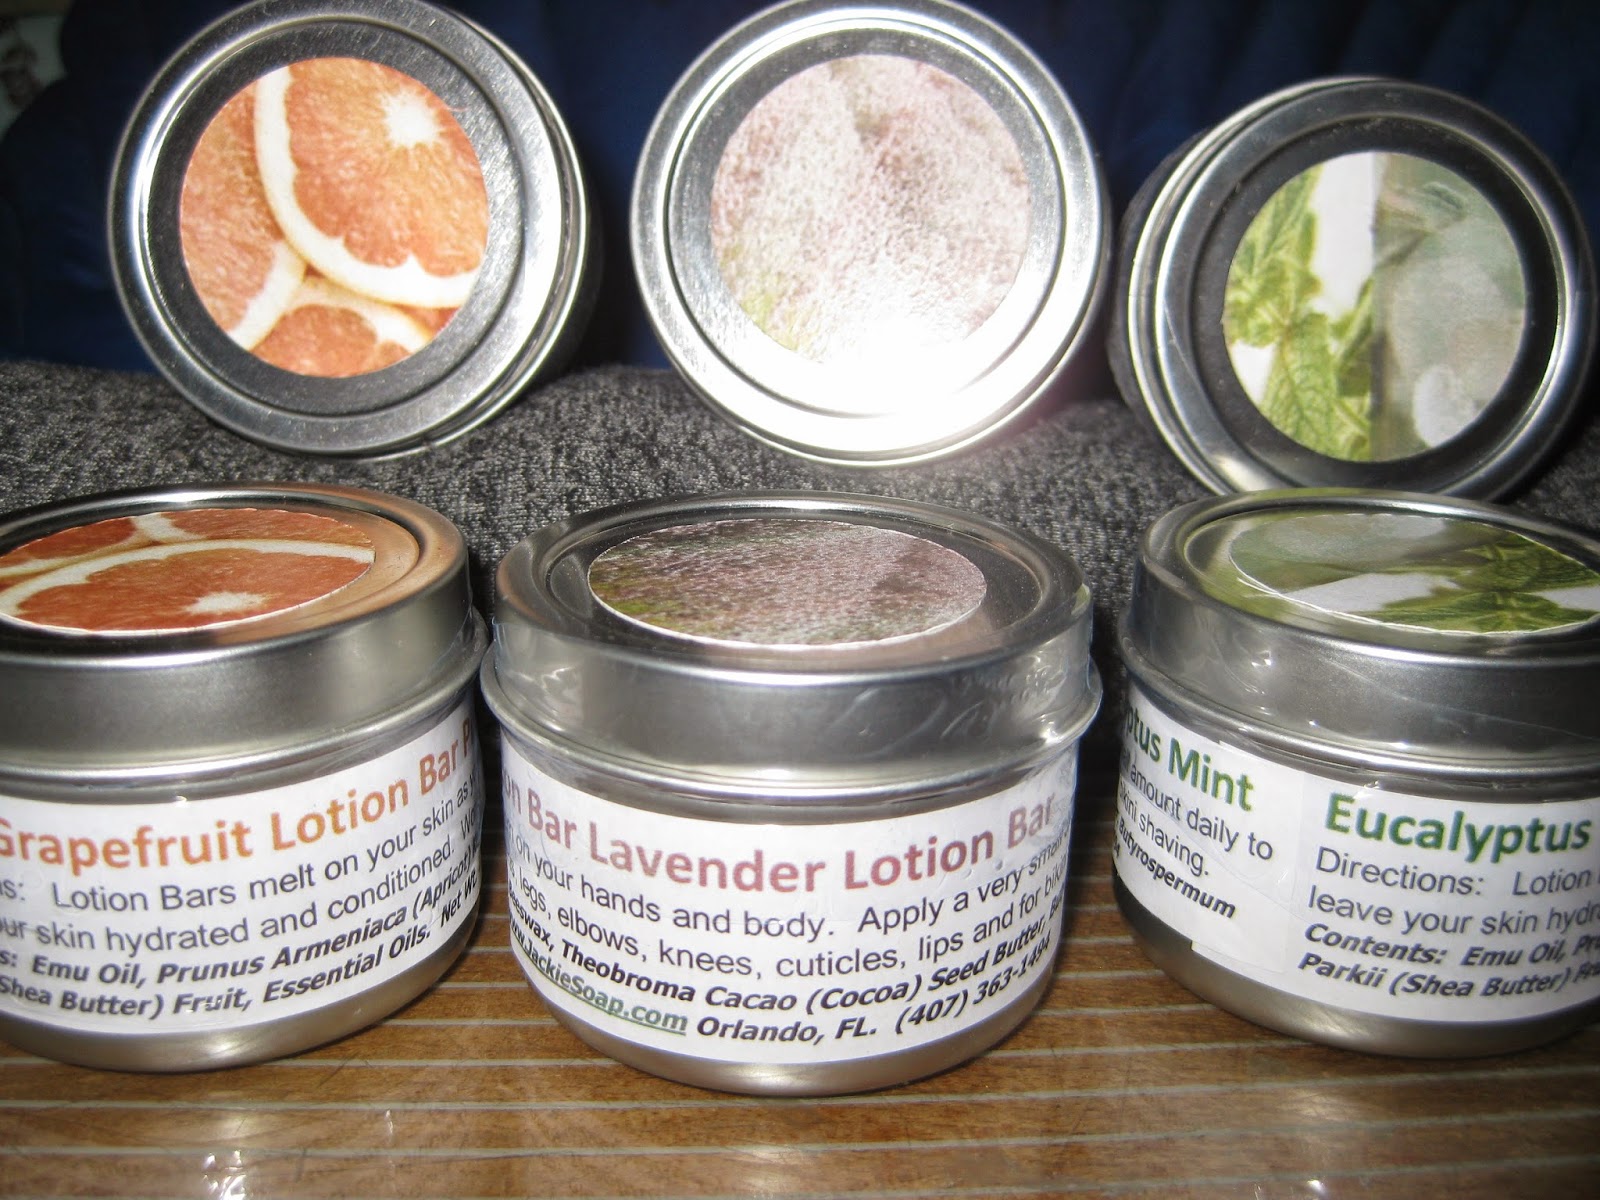
A few weeks ago, after I had amassed hours of research on sourdough bread starters, it was time to get to business.   So what is starter?  Have you ever gotten a friend to give you a baggie of "stuff" to make Amish Friendship Bread?  Well, that is a starter.  It is a leavening agent to help rise bread.  In the recipes I am going to make, it is a substitute for yeast.  The starter I am going to try, includes three ingredients:  non-fat milk, all-purpose flour and yogurt (which is not used in many recipes).   I liked adding the yogurt as I felt it would bring some good bacteria to the mix--more than is commonly found in my house.  Many of the starters used water instead of milk, but, I thought I would get better flavor from the milk based starters.

The first fragile days of the starter's life

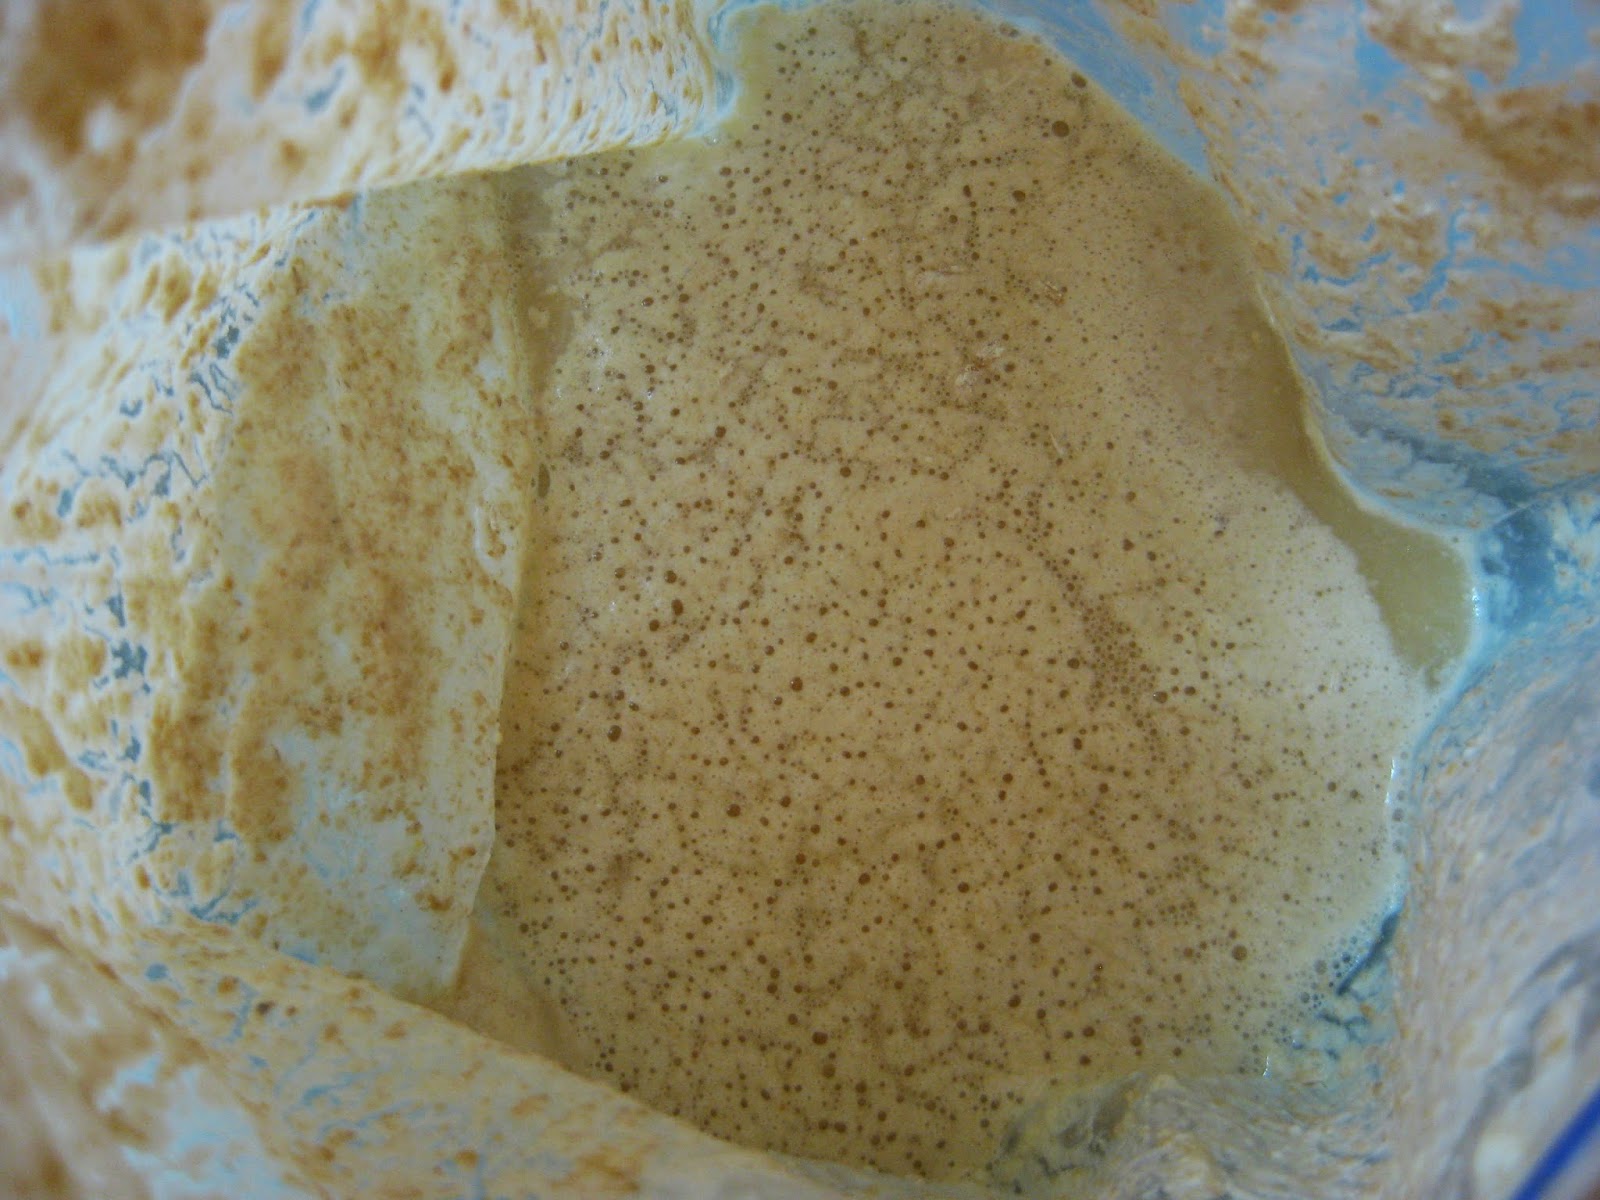
You can see (maybe) a layer of clear fluid and lots of gas bubbles
--this is how the starter looks after a feeding

Sunset Sourdough Starter, 1998
1 cup non-fat or low-fat milk
1 cup all purpose flour
3 T plain yogurt (I used plain, non-fat Greek)

1.  For best results, use fresh, just opened milk and yogurt.  Warm milk to 90-100 degrees.  Stir in yogurt.

2.  Pour into a warm 3-6 cup container (plastic, glass, ceramic or stainless steel) with an airtight lid.  I used a freezer quality ziploc bag.  

3.  Cover and let stand in a warm (80 -90 degree) place until it has the consistency of yogurt--18 - 24 hours.  The mixture should be thick, so it won't flow readily when the container is tilted.  A single clot may form or smaller curds may be suspended in clear liquid.  Stir to mix in any liquid.  If it turns bright pink, discard and start over.  

4.  Once a clot forms, add flour and stir until smooth.  Cover airtight and let starter stand in a warm place until it is full of bubbles and has a pleasing sour smell, 3-5 days.  Again, if a clear liquid forms, stir to blend.  IF liquid turns pink, discard and start over.  To store cover airtight and refrigerate.  

SO, I misread the instructions and added all three ingredients at step #1.  Oops!  Seeing as I had already screwed up, I just went with.  There wasn't much to lose if I messed up, right?  But, guess what--it all worked out.  I let it sit for the first day in the ziploc baggie.  On the second day I checked it, and yes it was thick like yogurt.  I didn't "smoosh" it that day. But the next day it had that clear layer...and bubbles, so I smooshed it.  For the next week and a half, I smooshed it anytime I saw the layer of liquid.  Except for the two days I was out of town and forgot about the starter.  Bad Momma!    

After mixing in the clear liquid, the starter immediately
starts feeding again.  New bubbles form right away--its alive!!!
To maintain the starter, feed each one cup of starter,  1 cup each flour and warm milk, stirring well.  (I forgot to warm the milk the last couple of times, with no problem!)  

To increase the starter supply, say you want to make bread, you can add as much as 10 cups each flour and milk/water.  Then let it stand up to two days--waiting for the clear liquid to form again.  

To store, refrigerate in an airtight container.

To use, bring it to room temperature.  You can speed this up by setting the container in warm water.


At the three week point, I knew I had a good viable starter.  When I open the bag, it smells wonderful--kind of tart and tangy.  I wanted to try something easy, so I made some apple pecan muffins.  When those turned out, and I wasn't too worried as the recipe had baking soda in it too, I was ready to try some real bread...oh, and pizza dough!  And down the road, french bread and bagels, too!  LOL  Lots to play with.

Pumpkin Pecan Muffins, ready to go in the oven.
  
Baked and ready to go with Rod's morning coffee!

Adapted from Sourdoughhome.com Blueberry Muffins
1 Egg
1/4 tsp Salt (I leave this out)
1 c Sourdough Starter
1 t baking soda
1/2 cup blueberries  (I used apples the first time, pumpkin the next time)
1 t vanilla
1/4 cup oil (I used vegetable oil that I was trying to use up)
1 cup whole wheat flour
1/4 c sugar
1/4 cup chopped nuts (my addition)

Preheat oven to 425 degrees.  Prepare muffin cups--remember to spray if you don't use liners.  I use silicone, regular sized liners.

Combine dry ingredients in a bowl.  Stir in blueberries.  Combine wet ingredients in another larger bowl.  Add dry ingredients to wet ones--don't overwork the batter.  Spoon immediately into cups--I filled them about 3/4+ full and made 12 muffins.  Bake 20 minutes.

These were delicious and not too sweet, but the whole wheat flour made them denser with a grainy crumb! The changes I made to the recipe were keepers, but,  I wonder if the texture would have been more muffin like with a starter made with all-purpose flour instead of the whole wheat I usually use.  So that begs the question, do I need to have a whole wheat starter and an all purpose starter?

Next time I talk about the starter I will give you the recipes for the pizza crust and whole wheat bread.  

Friday, March 21, 2014

It's Spring--Time to Finish the Potting Bench


A year ago, or was it two??, my friend Annie sent me a picture of an old  baker's rack she found at a garage sale.  She knew I was looking for something to use as a potting bench and at $15 this was a good buy.  Made of solid wood, it was sturdy, required only a few modifications, and looked like it would make a great addition to my yard.

Now the real question may be, why would someone who has a black thumb even want an area to ply her dark trade?  Can you see the annuals in the black tray?  Yes, dead as a door nail.  I bought them a month ago, it got cold and I just never got them in the ground.  Well, a couple of the yellow marigolds did survive, but, it is only March.  Give me time.


The real reason I wanted a bench, is that it was going to hide all the pool equipment you could see when lounging on the patio.  See, look!  You can't see the pump, filer and all that white PVC pipe!  It is a major success.

It took a long time to come to fruition.  Mainly because I couldn't quite see the finished piece.  I spent hours paging through Pinterest to come up with ideas.  First I wanted the fence pickets, then I decided it would look stupid.  Then, I had to pick a color--should I paint it the house trim colors?  Or do I get a little daring and paint them the bright, neon colors I love.  You can see what won out.  I also used several of my craft show finds on the decorating of the bench.  The pickets are pressure treated lumber, so, when they dry out they will be a bright coral color.

A painted window frame from Great Day in the Country.  I had to white out the back so you couldn't see through.


My lizards...now a bright orange and crawling all over!

From my friend Eve...TURTLES!!  

The metal work is from the metal artists at Tallahassee Market Days

 The articulating "critter" from Paddling Dog Studios--who I was next to at
the Schaumburg Septemberfest the first year.


http://www.haydnlarsonstudios.com/  These "folks" are from my artist friend Haydn Larson.

While I was at it, I put up my owls, birds and birdhouses on the screen hiding the pool equipment from the other direction.  It was fun to group them all together, now I just need to get into that planting bed and really do some weeding, cutting back and remulching!


Peppermint...get ready for mohitos!

Sweet Basil

Tarragon


It was fun putting it all together.  Is it too much?  Well, probably, but I love it all!  Now I can start on the big planter project in the front yard.  It involves relocating whiskey barrels, building a small stone wall and lots and lots of mulch!  Oh, and weeding those dang dollar weeds that just love my sandy soil.